Showing posts with label Pasta. Show all posts

Thursday, August 14, 2014

Mom's Spaghetti and Meatballs

I had this idea for a cooking project that I affectionately refer to as Balls of the World! The original plan was to make a flight of meatballs, featuring traditional meatballs from across the globe. However this would inevitably result in an incredible amount of meatballs - I would either have to organize a meatball party, or Alex and I would be eating nothing but meatballs for weeks. These things may still happen, but in the mean time, I think I'll explore the vast world of spherical meats one at a time, and what better place to start than the traditional meatballs of my family - my mom's meatballs.

Pasta was the staple food at my mom's house when I was growing up. Often just plain pasta with parmesan, sometimes with broccoli. Every couple of weeks though, my mom would get fancy and make meatballs and tomato sauce. I have fond memories of these meatballs adorning our daily pasta and of course there was the excitement of patiently watching/smelling/hearing the meatballs cook at the back of the stove.

Mom's Meatballs
Ground Beef
Diced Onion
Diced Carrot
Bread Crumbs
Egg
Oregano
Salt & Pepper


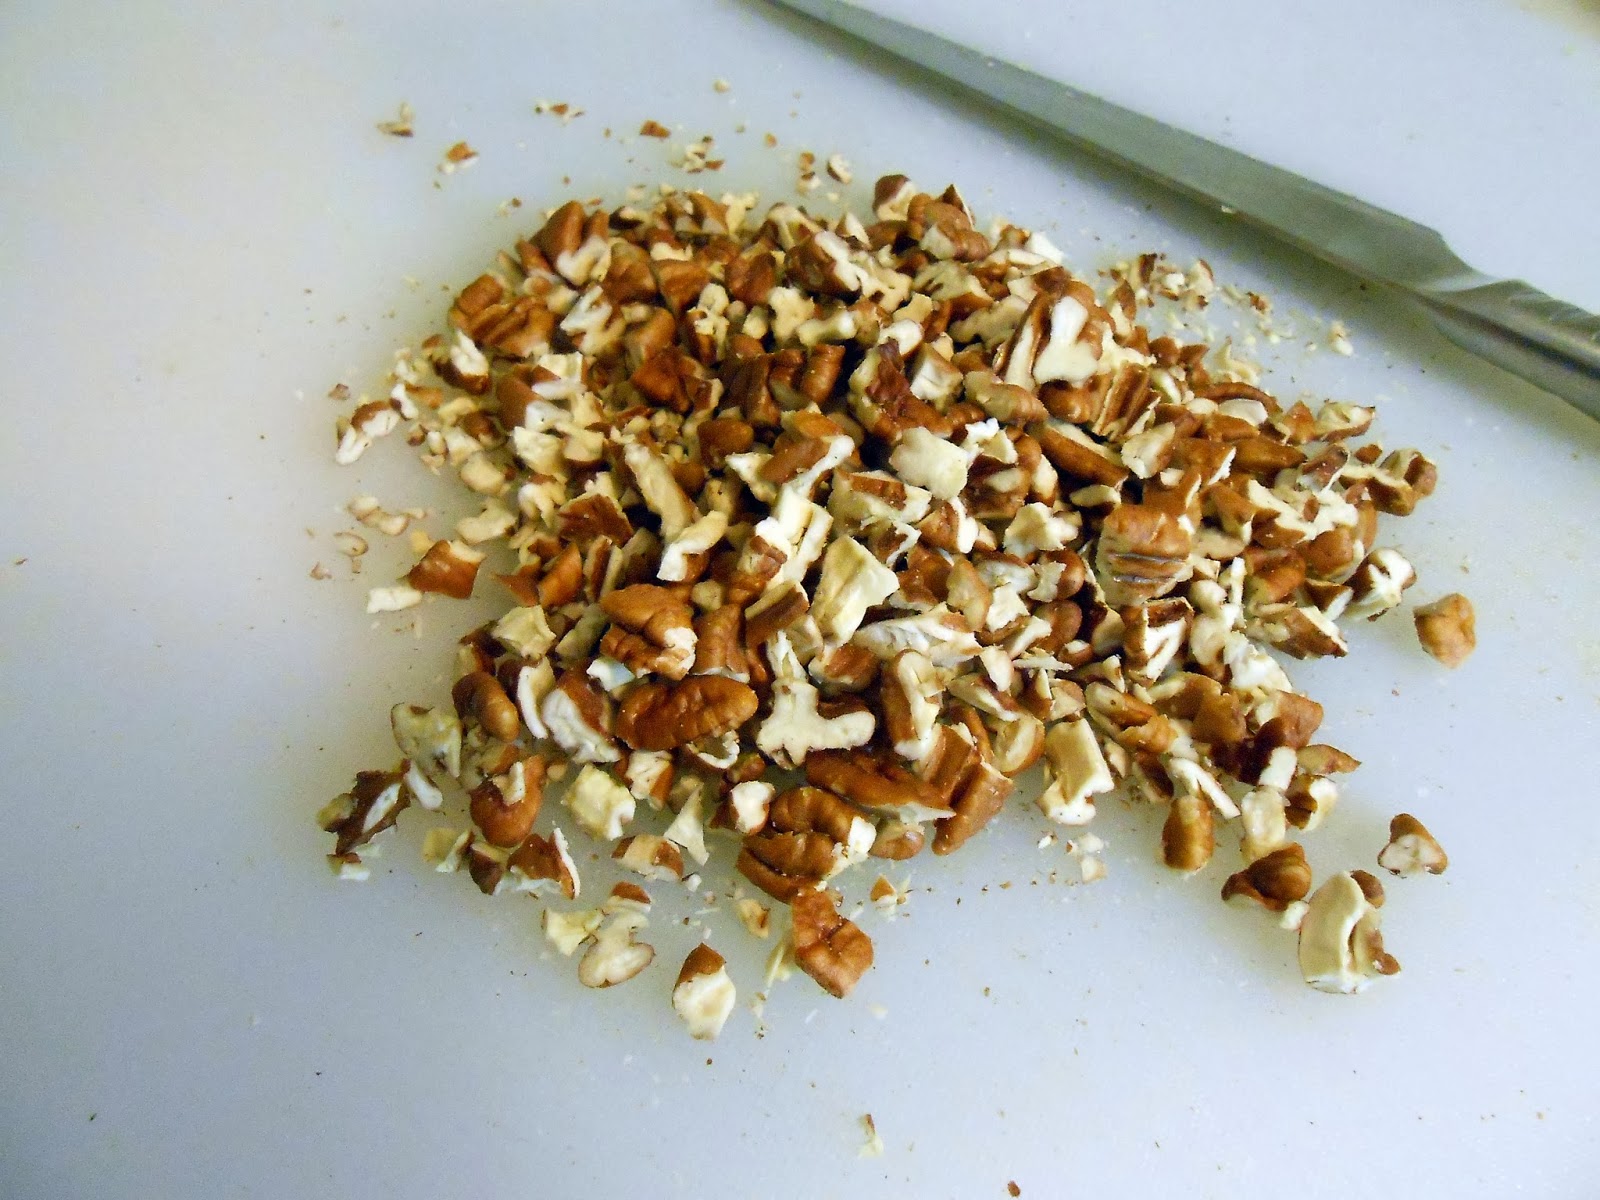
To be honest, I just made up this recipe from memory with a few modifications. I'm pretty sure my mom used dried oregano and far less onions and carrots than I did. In the picture above, I used 1# beef, 1/2 onion, 1 small carrot, and a few sprigs of oregano fresh from my garden. I also used cornmeal because I was all out of breadcrumbs. My mom used to grind up stale sandwich bread in her food processor and then save the crumbs in a gallon ziplock bag in the freezer for later use in meatballs or other things. So, these aren't exactly my mom's meatballs, but I'm inclined to say they're close enough.


What defines these meatballs for me is that they're cooked in the tomato sauce. You can get the tomato sauce going before or after mixing and forming the meatballs.

Mom's Tomato Sauce
Diced Onion
Canned Tomatoes
Tomato Paste
Salt & Pepper


Sauté the onions just until they're translucent. Then add two large cans of tomatoes and a small can of tomato paste. Rinse out the cans with a little bit of water and add that too.


Canned tomatoes come in many shapes (diced, whole, crushed...), any will do. If you're working with whole tomatoes, you can squish them against the side of the pot with a spoon. Or my favorite method is to first pour the whole tomatoes into a bowl and squish them with my bare (clean) hands. 


Bring the sauce up to a simmer and then add the meatballs to it.


Make sure to stir often to keep the sauce from burning on the bottom. After adding the meatballs, start cooking some spaghetti.


When the spaghetti is al dente, strain it and serve it with meatballs and sauce on top. Ideally sprinkled with parmesan cheese too.


It was fascinating what strong memories this brought back for both me and Alex. I imagine that most people who grew up in the US have a childhood connection to classic spaghetti and meatballs. Alex exclaimed a few bites in that this is the ultimate comfort food. I wasn't so sure, for me this was one of those kid foods that just doesn't have the same magic as an adult. If I were to make this again, I would at least add garlic and omit the tomato paste in the sauce. Really, this dish is a blank canvass ready for herbs (oregano, thyme, rosemary, sage, chives, cilantro, parsley, basil...), cheeses (fresh cheeses, salted and aged cheeses, maybe even some stinky blue cheeses), and vegetables (fresh tomatoes, carrots, eggplant, summer squash, corn, mushrooms, peppers...).


Wednesday, February 12, 2014

Blue Cheese, Brussels Sprouts, Pecans, and Pasta

A few weeks ago I had the pleasure of attending a seminar by Dr. Rachel Dutton. You may have seen her name in the "recommended blogs" section of this blog. Or perhaps you read the article about her in the NYTimes, or heard about the chef-friendly microbiologist through the culinary grapevine. She's a "super postdoc", or a young research scientist with her own lab at Harvard that studies the microbial ecology of cheeses. Not only does she seamlessly connect my two passions - food and science (specifically microbiology), but I believe she is also precisely the link we need in science right now between basic research (i.e. cell biology) and field research (i.e. ecology).

(photo taken from the Dutton Lab)

On the rinds of cheeses across the globe, Dr. Dutton has found a delectable diversity of fungi and bacteria happily cohabiting. Importantly for science, all the microbes on cheese will also grow individually in the lab (because a wheel of cheese is really just a giant fancy agar plate). This means Dr. Dutton's lab can take apart the microbial community on cheese, and then try to build it back up again to learn how microbial communities are structured in nature. The other advantage of being able to manipulate cheese microbes in the lab is that it makes it much easier to study what exactly these microbes are doing on the cheese at multiple scales from tracking the path of single molecules to the behavior of species. I find this really exciting because cheese might be the answer to unlocking the mysteries of microbial community ecology that have previously been difficult to study in far more complex systems like soil or the gut.

Since I was so stoked about seeing Dr. Dutton's seminar, Alex got me some super stinky moldy cheese for my birthday last week. Unlike Dr. Dutton's cheese's, this is a fresher cheese that has been injected with Penicillium spp. (as in, Penicillin). This cheese is VERY moldy, and while I do study mold, I wasn't entirely prepared for the quantity of Penicillium in my birthday cheese.


I realized I wasn't just going to eat this cheese on it's own. I needed to make something with it. I needed to dilute its funkiness with other flavors. Though, a part of me cringes typing that last sentence. Shouldn't I embrace the gloriously complex flavors of this robust delicacy? Shouldn't I appreciate filamentous fungi alone for their culinary contribution? Perhaps I should, though it's going to be a long time before I become a bonafide mold snob.

Anyway, I was feeling inspired by the brussels sprouts I had just gotten at the farmers market and the pecans I received in the mail, fresh from my uncle's tree in Arkansas! Pasta with brussels sprouts, pecans, and blue cheese cream sauce seemed like the best way to eat some very blue blue cheese without eating it straight.

I make pasta the Italian way - pasta first, then water:


 I also throw in a few frozen cubes of my homemade chicken demi-glace:


While the pasta cooked, I got my mise en place together: onions, brussels sprouts, carrots, garlic, blue cheese, and my uncle's pecans.


The pasta should be boiled in just enough water to cover it so that by the time it's done, it's starting to poke out of the water. Ideally you should strain the water over another pot, cook the pasta water down and use it to thicken the sauce, but I don't always do this.


Saute the onions, garlic, and carrots in butter.


add the brussels sprouts.


Sprinkle in some flour and let it cook for just a minute or two (this is the Singer Method of making a roux)


Add a decent amount of milk.


I always end up adding more milk as it cooks and thickens. The goal is pasta-sauce-consistency. Also, anytime you cook with milk (or cream), always add nutmeg. Nutmeg is the secret ingredient to all things dairy.


Just before you turn off the heat, add some blue cheese and stir it in till it melts.


Add the cooked pasta and mix it until everything is saucy and delicious.


This turned out to be simple and pretty darn good, though for anyone inspired to recreate this: add bacon, or possibly sausage. Bacon would have made this perfect. Just imagine powerful musky blue cheese and sweet, salty bacon waltzing across your tastebuds.

Monday, September 2, 2013

Cheddar Sweet Potato Tortellini

I LOVE tortellini. Though I never buy tortellini because I will only buy the good stuff, and then the price shock makes me exclaim, "I could make these for a tenth the price!" But for years I've never made them, because it takes planning - the dough has to rest at least two hours, you need a clean space big enough to roll out the pasta, and the patience to shape each and every tortellini. That last part is the biggest deterrent. Anyway, I finally sucked it up, and made my dreams come true!

In principle, tortellini is easy, they just take time and patience. It starts with the pasta dough. I cut my usual recipe in half:

Pasta Dough
(Yields ~40 Tortellini)
8oz. All Purpose Flour
2 Large eggs
1Tbsp Water
1Tbsp Olive Oil (or any vegetable oil)
pinch salt

I usually just eye-ball the water and oil and adjust it as I go. Pasta can be made either entirely by hand or with a mixer. I love the experience of kneading pasta dough by hand, but sadly my wrists are semi-destroyed after years of abuse in professional kitchens. So, I start my dough by hand and let my Hobart-KitchenAid mixer do the heavy work of kneading for me. 


"The Well Method" is the traditional beginning to pasta dough. A "well" is made in the flour for the eggs, oil, and water. Then with a finger or two, stir the wet things together, slowly incorporating the flour as your go.


At this point, I turn the mixing over to the mixer machine, but I definitely encourage everyone with healthy wrists/hands to knead it by hand! After a few kneads or turns of the mixer, check the consistency of the dough - if there are dry bits that the dough refuses to pick up, add another Tbsp or two of water. If the dough is sticky and moist, add a Tbsp or two of flour. Keep a close eye on your dough and touch it often to respond to it's needs. The goal is to have a single ball of dough that bounces back when you poke it and is smooth to the touch -- not sticky in any way!! If it's at all sticky, it needs more flour! The dough needs to knead for at least a couple minutes, and if you're having to make several additions of flour and/or water it could take 10-15 minutes. 

Kneading dough is a beautiful culinary dance! I see it as a fairly intimate process, a silent conversation between dough and hands. Hands and dough moving together, responding to each others movements,  just like a partner-dance. I think it's relevant here to mention a fabulous quote direct from a Parisian chef at the Le Cordon Bleu culinary school in Paris via a previous pastry-chef/coworker, "knead the dough like you knead your wife's ass."

Once your dough is lusciously smooth, firm, and elastic (after 5-15 minutes of kneading), wrap it in plastic and let it sit at room temperature for at least two hours, or in the fridge for up to 24 hours (it'll be fine for 48 hours, but I don't recommend it). The reason the dough needs to rest has to do with gluten..


 .......

A few words about gluten and molecular structure of dough:

Gluten is a complex mixture of several proteins found in some grains (e.g. wheat, oats, barley, rye, spelt). There are two classes of gluten proteins: the glutenins and the gliadins. The glutenins are the muscle; shaped like a spring to provide elasticity and strength (or toughness) to dough. The gliadins act like ball-bearings, softening the effect of the glutenins and helping them to slide past each other. When you knead dough, you are moving these proteins around with the goal of stringing glutenins together from end to end. Water molecules combine with the glutenins to make strong disulfide bonds between glutenin molecules that are not easily broken.

When you over-knead, you begin to forcibly break up the long glutenin chains that you worked so hard to build. These chains likely break somewhere in the middle of each glutenin molecule, not at the disulfide bonds, which makes them harder to repair.

So why does dough need to rest? Because when you knead dough, in addition to making these long disulfide-linked glutenin chains, you're also stretching out the coiled structure of the glutenin molecules and allowing them to form weak bonds with neighboring proteins. This essentially creates a tightly knotted molecular mess. By giving the dough time to "rest", the glutenin springs contract into their natural, non-stressed formation and they break any unnecessary weak bonds. So resting ensures the health of long glutenin chains.

.......

While the dough is resting, prepare the filling and everything you will need to make the tortellini.

Cheddar Sweet Potato Filling
5 tiny Sweet Potatoes
(or 1 gigantic Sweet Potato. When in doubt, tis better to have too much than not enough.)
~1/4cup White Cheddar Cheese, grated
~1mm slice off a stick of Butter (salted or unsalted)
pinch salt
big pinch Black Pepper, freshly ground

This is simply what I came up with based on what was in my kitchen at the moment. I encourage everyone wanting to recreate this to have fun with the filling! Put whatever you want inside your tortellini. Put something different inside each tortellini to make dinner an exciting Easter-egg hunt!

Anyway, for this filling, cook the Sweet Potatoes using your favorite method. I boiled them. They could also be steamed, baked, microwaved, grilled, wrapped in foil and thrown into a fire.... anything goes, just make sure they're cooked.  


I found the green water to be a fascinating consequence of boiling sweet potatoes...

Peel them once they're cool enough to touch, and then mash them with the cheese, butter, salt, and pepper. Set aside.


To roll out the pasta dough it really helps to have a pasta machine, but it can certainly be done with a simple rolling pin too. Cut the dough in half (re-wrap the half you are not using immediately), use your hands to flatten it and dust it with flour. It's hard to use too much flour at this stage. Flour frequently.


Run the dough through the machine on the thickest setting and then work your way incrementally to the 2nd-to-thinnest setting. For tortellini, there's no reason to go all the way to the thinnest setting. Gently move your first sheet of pasta dough to a well-floured surface and roll out the second half of the dough.


Cut circles out of the dough. I used a 7.75cm ring cutter which produced slightly larger than normal tortellini. 


The scraps of dough can be mushed together and re-rolled to make more tortellini. The more you re-roll the dough, the tougher it will get, so I recommend only doing this once. Any resulting scraps from the final re-roll, can be cooked and eaten as simple, unfilled noodles.

Crack a large egg into a bowl and beat it with a fork as if you were going to make scrambled eggs. This will be used like "glue" to seal in the filling of each tortellini.


Building a Tortellini
1) Scoop a small amount of the filling onto the center of a dough circle.
2) Brush the edge of the dough with egg.
3) Fold the dough in half over the filling.
4) Use your fingers to seal the edges together
5) Pop that collar!
6) Press together the loose ends.


Seal the edge by pressing them together...

...folded and sealed...

...collar popped...

...push the ends together..

...squish the two ends together.

Voila! Tortellini!


If you don't want to eat all these tortellini right away, they should be frozen. Always freeze on a cookie-sheet first and then transfer them to a bag once frozen. To cook frozen tortellini, put them directly from the freezer into boiling water. I haven't tried this yet, so I'd check one after 5 minutes to see if it's done or not.


To cook fresh (non-frozen) tortellini, simply boil in salted water for about 3-5 minutes.


I ate the first batch with nothing more than olive oil, salt, and pepper. Though any sort of pasta sauce would be delicious. These are also surprisingly filling!


Reference: On Food and Cooking by Harold McGee

Sunday, April 21, 2013

Strawberry Cilantro Pasta

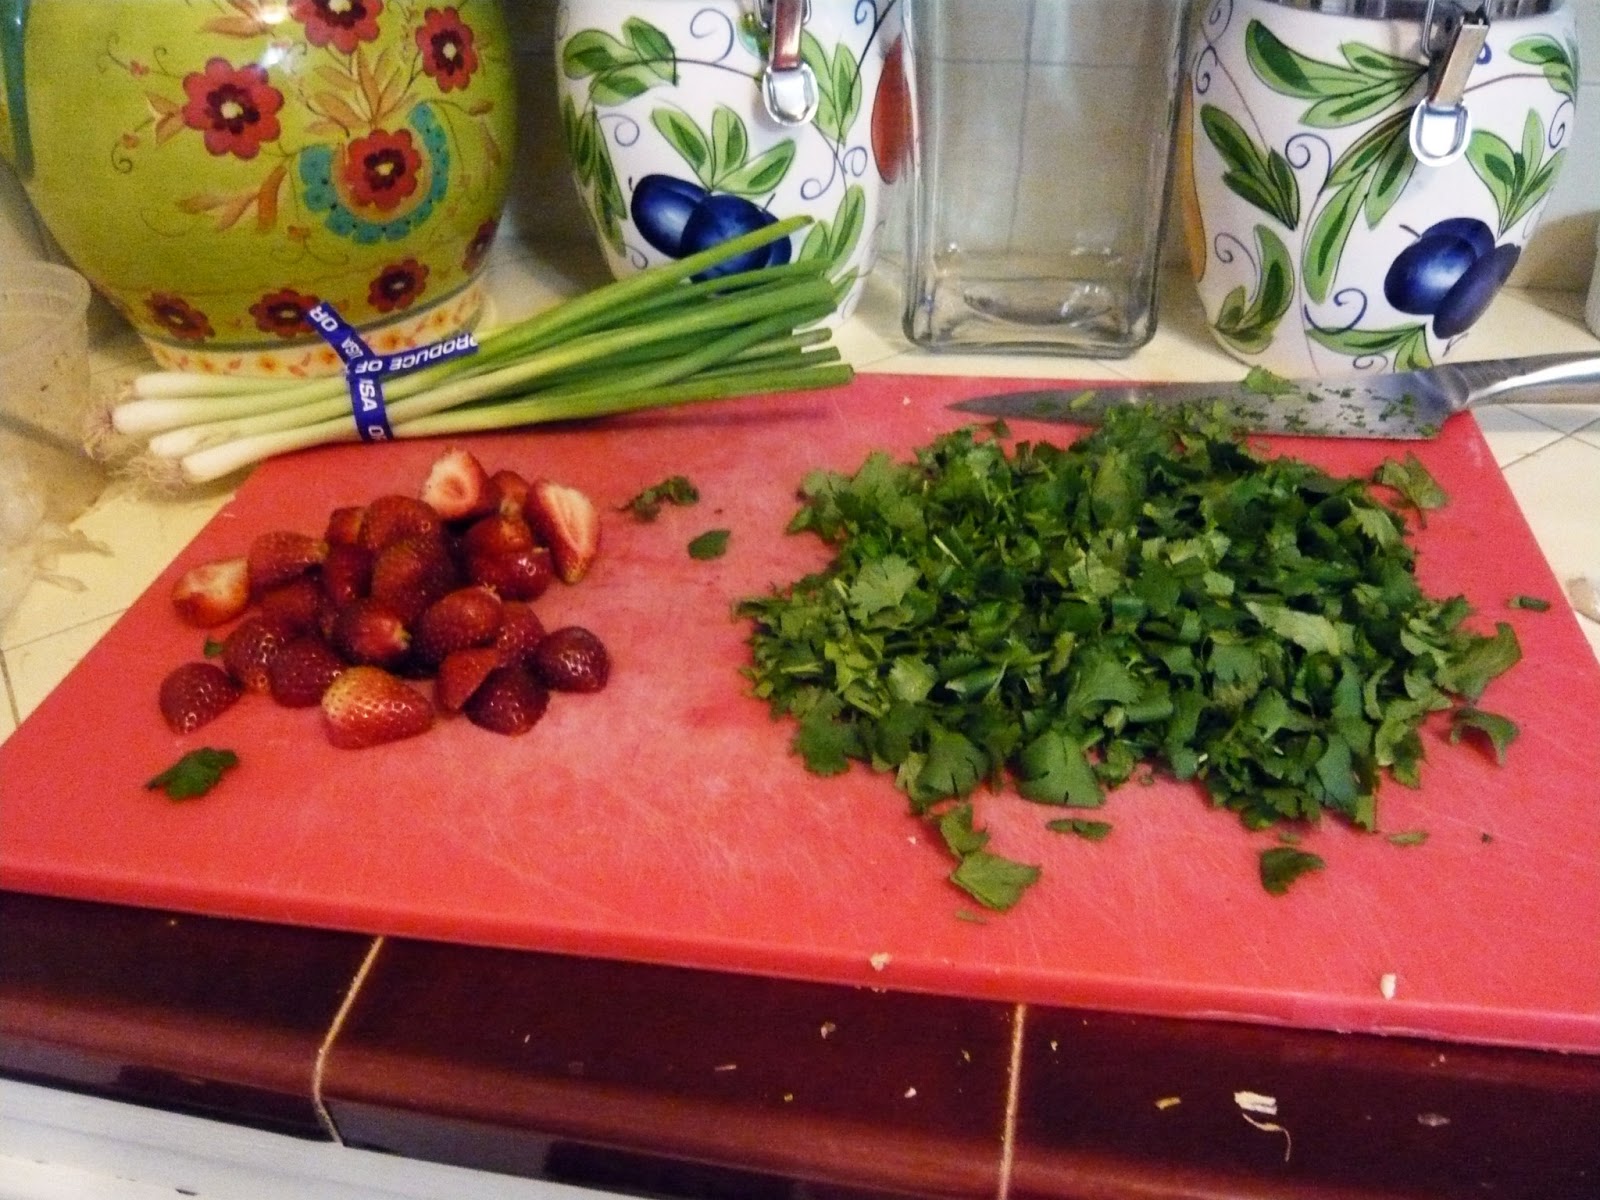
It all began with sauteed red onions, garlic and ground beef. And it was finished with halved strawberries, a bunch of chopped cilantro, half-a-bunch of thinly sliced green onions, dry ground fennel, cumin, salt, and some left-over cooked pasta. Delicious!


Sunday, April 7, 2013

Beef & Butter Pasta

I was feeling the need to put something else on my blog besides mobile-mini-restaurant-reviews. Having a smartphone is nifty and all, but it just seems so much more meaningful to update my blog the old-fashioned way -- with a computer that has a real keyboard and far more editing capabilities. Anyway, here's what I made for dinner tonight. Just a simple beef and pasta dish.

A while ago I started re-thinking pasta. It all began when I saw my step-mom throw a few hand-fulls of pasta into the saucy juices at the bottom of a pan of roast chicken.She let the pasta cook while the chicken finished cooking, and in the end she had pasta that was flavored with stock and roast-chicken-drippings, delicious! It had previously been pounded into my head that pasta should always be cooked in a humongous pot of boiling water -- I started to question this after watching my step-mom's method. I've since realized, it really doesn't matter how you cook pasta. As long as there's liquid and heat at some point, the pasta will get cooked. So whenever I make pasta now, I put the dry pasta in a dry pot and then fill it with water so there's about 1-2cm of water above the level of the pasta. This is usually just enough water to cook the pasta, with just enough left over to make a sauce. Waste not!


Always salt your pasta water liberally and stir often!


To make the sauce I started with half a stick of butter.


Then sauteed ground beef, onions and garlic until they were browned.


Meanwhile I strained the pasta by balancing a colander on top of a measuring cup in the kitchen sink. Check out that thick delicious pasta water!


I used some of the pasta water to de-glaze my sauce pan...


...and I added several ice-cubes of chicken demi-glace from the freezer...


...and some lemon zest to brighten the mood. Oh yeah, and more butter! Always more butter.


Once the sauce was thick, I stirred in the cooked pasta, topped it with cheese, and voila!