
After nearly 7 years of homebrewing beer, it might be surprising that there has never been a peep about it on this blog. Though maybe it's not so surprising because the primary purpose of this blog has been a selfish one - so that I can easily search and remember my past food adventures. I haven't needed to put my beer recipes on here because I have a different medium for that - a lab notebook of sorts.

About this time 7 years ago, my good friend Trevor taught himself how to brew beer, and then insisted that I needed to learn how to brew too. For some reason I didn't immediately understand that brewing beer is super awesome and I brushed Trevor of with a passive, "yeah, yeah... sure, let's brew sometime." I think he eventually invited himself over and taught me how to brew, for which I am eternally grateful and Trevor is henceforth godfather to all of my beers.
Brewing is a lot like making soup. In general, there are two philosophies - you can either make it completely from scratch by making your own stock (the "all-grain" beer brewing method), or cut a few corners and use pre-made bouillon cubes (the extract beer brewing method). Naturally, I'm all about doing everything from scratch. I believe the all-grain method of brewing beer has a few key advantages - (1) there's a lot more room for creativity and (2) It's pretty foolproof - I've never had a bad all-grain homebrew, whereas I've had my fair share of questionable extract brews. The main benefit of extract brewing is that it takes significantly less time.
I've heard a lot of nonsense from the homebrewing community that the all-grain method is only for "advanced" homebrewers after you've mastered extract brewing. Let me tell you that this is complete and total BS. I encourage fledging homebrewers to start with all-grain because you're almost guaranteed a delicious product and you'll learn more. Trevor taught me the all-grain method and I've never brewed with extract. Most importantly, brewing should be a fun activity; if you find yourself stressing out or getting overwhelmed by the process just relax, don't worry, have a homebrew.
Basic Recipe for Any All-Grain Beer
8-10# Base Malt
2-4# Specialty Malt
1-8 oz. Hops
Yeast

Malt, in general: Malting is a process in which grains (usually barley) are aloud to begin germinating before they are killed. Barley is a seed, or fruit, made up of three parts: embryo, endosperm, and seed coat. The embryo is a baby plant that, if allowed to grow, will utilize the starch that makes up the endosperm as food to fuel growth. The seed coat is a tough protective outer layer, often referred to as a hull, that acts as armor to protect the embryo during unfavorable times (winter, drought, etc.). When the embryo detects that conditions are good for germination, it will awaken from it's dormant slumber and begin to produce several different enzymes that are necessary for breaking down the complex carbohydrates in the endosperm into simple sugars that the embryo can eat. Brewing beer is all about using these native enzymes to break down complex sugars into simple sugars that yeast love to eat too. Malting is simply a process in which the barley is aloud to begin germinating (by soaking in water), and then heated with dry air to kill the embryo, but the enzymes remain viable.
Base Malts: Very lightly roasted barley malt that produces an abundance of fermentable sugars. The primary purpose of these malts is alcohol, not flavor. I usually use 2-row because it's the cheapest and has a very subtle neutral flavor. Other base malts like Maris Otter, Pale, 6-row, or Pilsner will increase the cost of your grain bill, but it might be worth it if you want to focus on malty flavors.
Specialty Malts: Various roasted malts used for their complex flavors and color. During the process of roasting malt, the fermentable sugars are killed off, so these malts wont contribute much to the alcohol content of your beer. The darker the malt, the more it will influence the color of you beer, and a little goes a long way! The color is usually indicated as "Degrees Lovibond" or simply "L". Joseph Williams Lovibond developed the colorimeter for describing the color of beer. The higher the Lovibond unit, the darker the beer.
- The Darkest Malts (>300 L): These are primarily for color, though they do add some roasty, toasty flavor. Long ago Alex requested a beer so thick and dark that if he threw it on the wall it would stick and be opaque. I achieved this with 4# of various extremely dark malts (Black Patent, Chocolate, and German Dark Malt). For a normal porter: 3/4# Chocolate Malt + 1/4# Black Patent is plenty.
- Crystal Malts (~20-120 L): These are only slightly more roasted than the base malts, so they don't add much color to the beer. What they do add is non-fermentable sugars, meaning these malts will make your beer taste sweet. If you like a sweeter/maltier beer, add 1/2 - 2# of Crystal to your grain bill. Crystal comes in a variety of colors so you can match it to your desired final beer color.
- All the other Specialty Malts: This is where the fun is! There is a vast variety of specialty malts (sometimes referred to as "adjuncts") that are primarily used for their distinct flavors. They're mostly barely, but there are other malted grains like rye, wheat, and oats. I usually have an idea of what I want my beer to taste like and with that in mind, I taste kernels of each specialty malt at the brewstore until I've found the flavors I'm looking for. It's also helpful to look at recipes for the style of beer you're hoping to brew. I usually buy a couple different specialty malts, 1/2 - 1# of each.
Two great lists describing the vast variety of brewing malts:

Don't forget to mill your grain before you leave the brewstore. I forgot to do this once and I brewed with it anyway - it turned out to be a delicious summery barley iced tea sort of concoction... definitely not beer.
And now, a detailed description (with pictures!) of how to make all grain beer. Specifically, a Rye-PA (like an IPA, but with added rye).

Brewing uses a lot of water. Bring 4 gallons of water to 50°C (120°F) in a 7 gallon pot.
MASHING

As soon as the water hits 50°C, add the grain all at once. Stir and make sure the temp is still at 50°C, then turn the heat off, put a lid on it, and let it sit for 5-20 minutes.
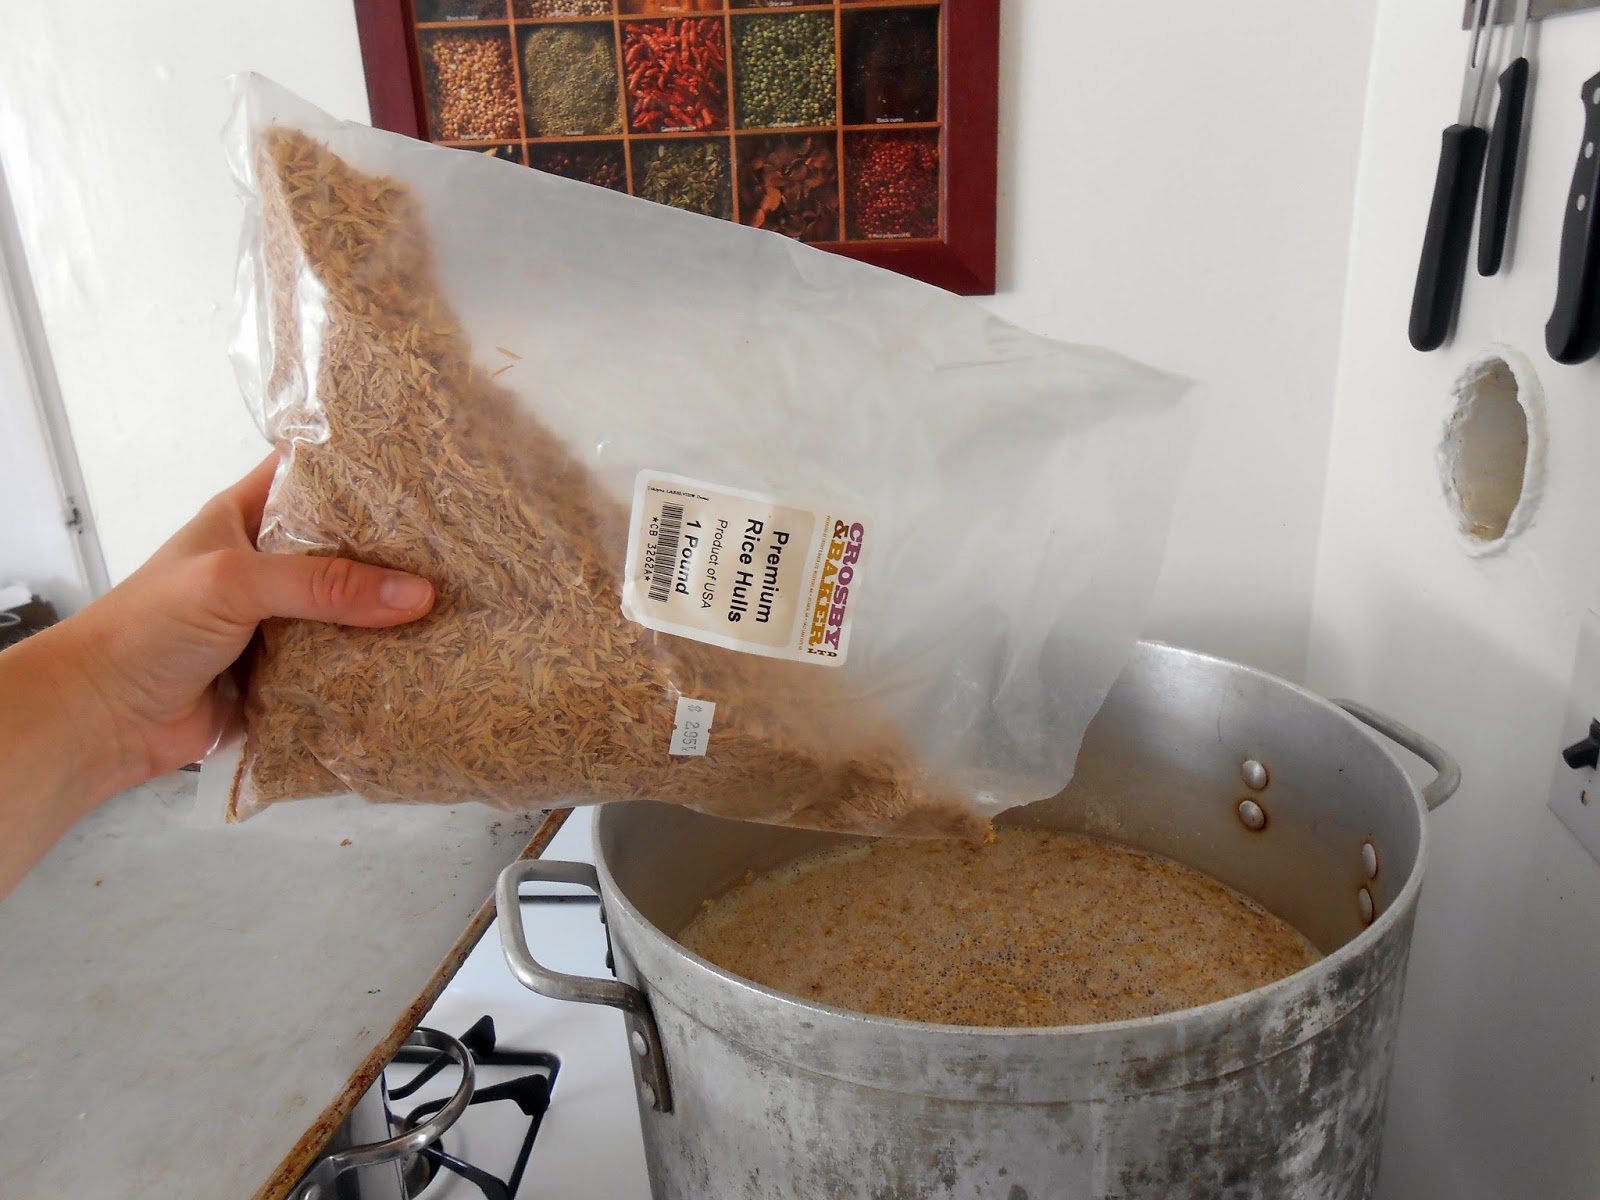
If you're brewing with rye or wheat, add about a cup of rice hulls. Rye and wheat get particularly goopy during the mashing process, and rice hulls will physically break up the structure of your mash so that water can easily flow through it without getting stuck.
What I'm describing here is a step-mash, in which the mash is aloud to rest at several different specific temperatures. If you don't want to deal with this - it's totally reasonable to skip the steps and just mash at 150°F for 1-3 hours, then increase the temp to 160°F for about 10 minutes before sparging. Though I find the step mash method can produce more interesting and complex beers.
Step-mashing incrementally activates and deactivates various enzymes in the grain, resulting in a plethora of tasty flavor compounds and fermentable sugars. Here's an overview of what each temperature does from Principles of Brewing Science by Dr. George Fix.
35-40°C (~100°F) -- Clarifying. Optimal temp for beta-glucanase activity, resulting in the break down of beta-glucans, which are partially responsible for cloudiness in beer. (I usually skip this step)
50°C (~120°F) -- Clarifying. Optimal temp for proteolytic activity, meaning proteins that contribute to the cloudiness in beer are broken down. (sometimes I skip this step too)
60°C (~140°F) -- Starch granules are broken open. This step primes the mash for the next step. Beta-glucanase and proteinases are deactivated while and alpha-amylases begin to work.
65°C (~150°F) -- Fermentable sugars released! This is arguably the most important step in which alpha-amylases break down complex polysaccharides into mono-, di-, and tri- saccharides, the majority of which are usable by Saccharomyces cerevisiae to produce ethanol and carbon dioxide.
(side note: Sacchar = sugar, myces = fungus, cerevisiae = beer, as in cerveza!)
70°C (~160°F) -- Sweetening, thicker mouth-feel, and beer foam stability. Alpha-amylases are not as active and beta-amylases are most active. Beta-amylases break down dextrins into sweet tasting non-fermentable sugars that also contribute to a thicker mouth-feel. If you want a thicker beer, creamier beer, then skip straight to this step. This step also leads to the formation of glyco-proteins, which will ultimately stabilize the foam on your beer.

Mash after 15 minutes at 50°C.

Mash after 15 minutes at 60°C.

Mash after 2 hours at 65°C.

Recommended pairing: grilled cheese sandwich

Throughout the mashing process you can easily test the liquid to tell when all the complex polysaccharides have been broken down into simple polysaccharides. Iodine and Iodophore are normally yellow/orange, but turn purple in the presence of complex polysaccharides. So your mash is done when a tiny bit of the liquid from your mash fails to turn purple in the presence of a tiny bit of iodine. (This picture above is still purple at the edges, so it's not ready yet!)
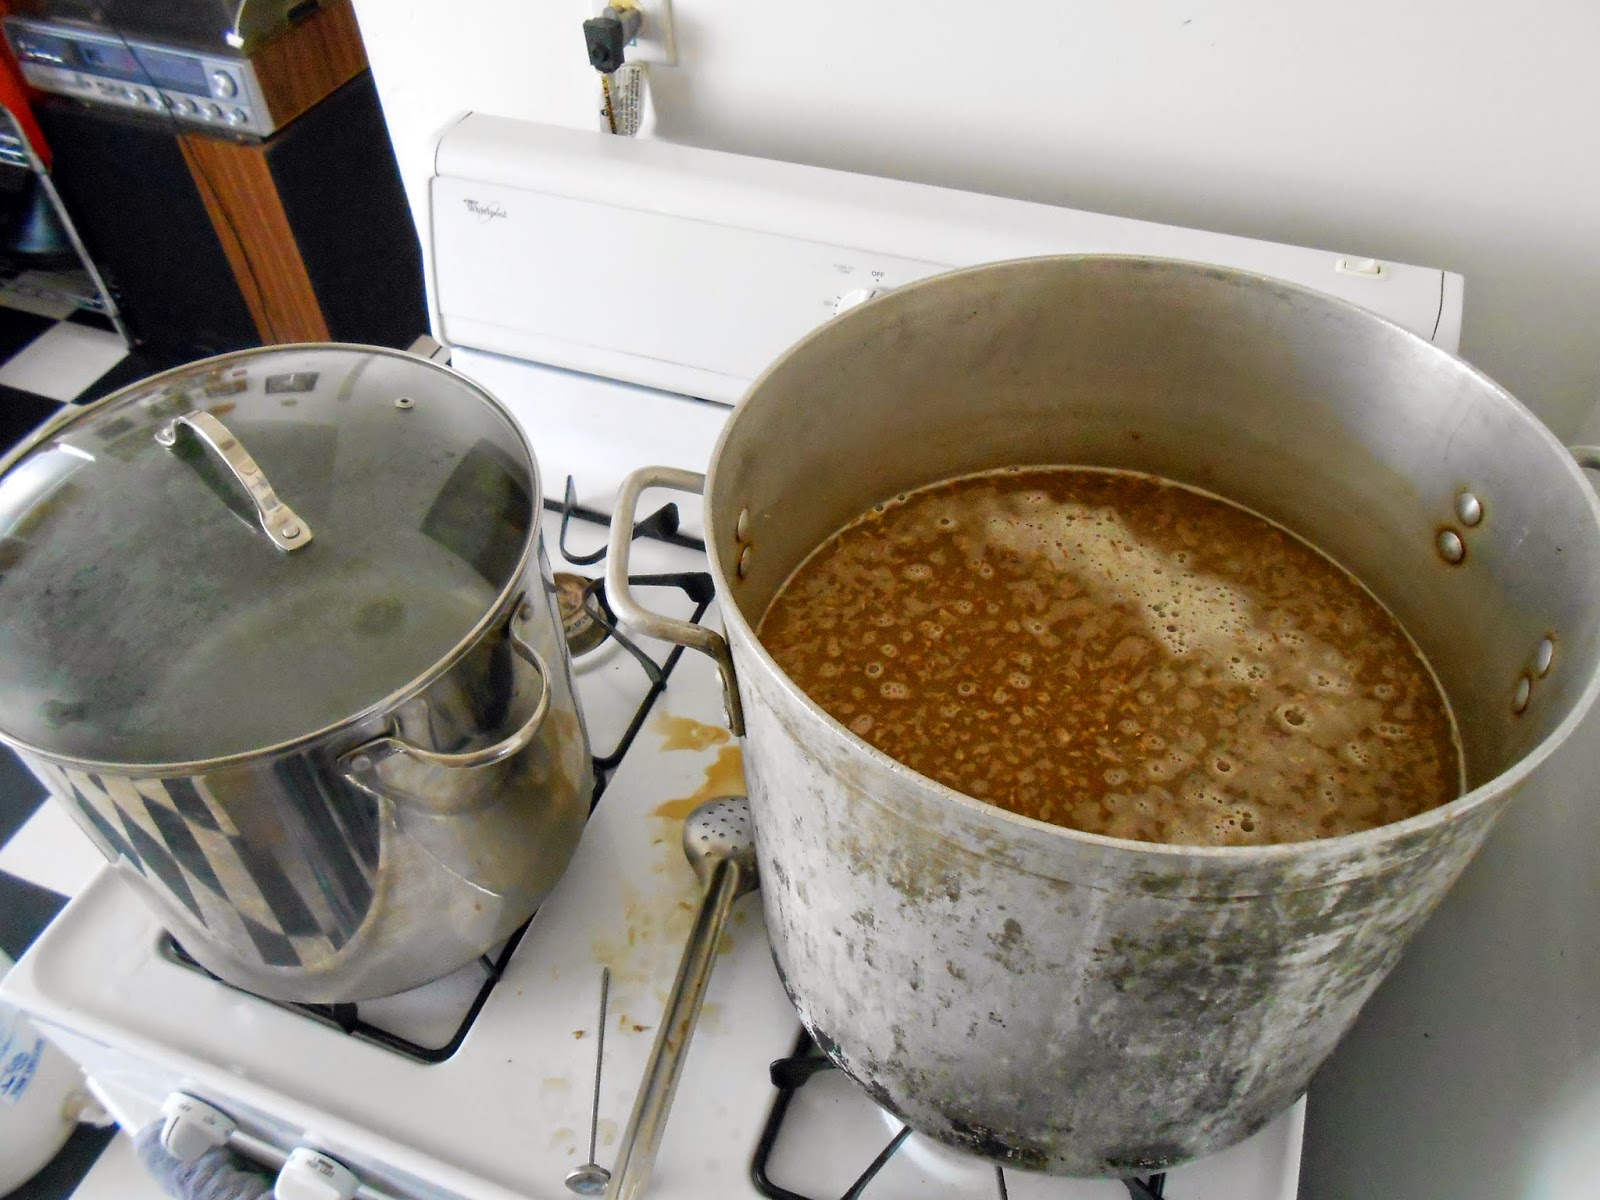
During the final mashing step of 70°C for 5-20 minutes, bring 4 gallons of water to 70°C in a separate pot.
LAUTERING & SPARGING

Lautering is the separation of liquids from solids, and sparging is rinsing extra fermentable sugars out the solids. This can all be achieved with some very simple equipment: a bucket with holes drilled in the bottom, a second bucket with a spigot on it, some plastic tubing that fits on the spigot and a spare pot or bucket.


Transfer the entire mash to the sparging bucket and let it drain into a spare pot. Pour the 4 gallons of fresh 70°C water over the mash to rinse all the tasty and fermentable things out the solids and into the liquid (a.k.a. wort). Keep a lid on top of the bucket to make sure it stays as close to 70°C as possible.

This is an excellent time to taste your wort. If you're making a porter or a stout, it will taste almost exactly like hot chocolate at this point.

Now is the time to activate your yeast! Follow the directions on the package. If you're using WYeast, locate the smaller packet inside the bigger packet with you fingers, and then smack it so that only the inside packet breaks. The inside packet contains nutrients to get the yeast going.

Listen to your yeast. They will tell you wonderful, magical things!
BOILING

When your wort has completely drained, put it back on the stove on high heat to bring it to a boil.

When the foam has mostly receded, it's time to add the hops. Both the astringent compounds in the hops and the process of boiling function to sterilize the beer so you can be sure that the yeast you add is the only thing fermenting your beer (without proper sterilization, you could end up with other microbes that create gross flavors or maybe even toxic compounds).

In general, there are two classes of hops: bittering hops and finishing hops. Bittering hops are boiled longer to extract their bitterness. Whereas finishing hops are barely boiled or added directly to the fermenter (dry hopping) to capture their distinct flavors and aromas. The alpha acid content will tell you how bitter a particular batch of hops is - the higher the alpha acid content, the more bitter they are. Finishing hops are generally low in alpha acid and are described as citrusy, herby, piney, floral, or spicy.
A good hop guide:

Boil the bittering hops for 30-45 minutes, then add the finishing hops. Boil the finishing hops for up to 15 minutes. The less you boil them, the more the delicate floral/citrus/herb flavors with be intact.

As soon as you are finished boiling - cool your beer to 70-90°F as quickly as possible to avoid contamination (anyone who has worked in the culinary industry should be familiar with The Danger Zone - this is exactly what we're trying to avoid!). A wort chiller or something similar is best. The low-tech method is to fill a bathtub with ice, put the boiling pot of wort in it and stir wildly. Even with a wort chiller, it will cool faster the more you stir.

You can use water coming out of the wort chiller (once it's cooled off a bit) to fill up a carboy to sterilize it. From this point onwards, anything that touches the beer should be sterilized first. I use Iodophor for sterilizing because I bought a giant bottle of it when I first started brewing and I still haven't killed it. Star San is less toxic, and therefore probably better.
The wort chiller water can also be used to rinse and fill a bucket to sterilize all the things you'll need to get the beer in the carboy: something to scoop and pour with (i.e. a pitcher), a strainer, a large funnel, and an airlock.

When the beer is cooled to 60-90°F (warmer is better), pour it into the sterilized carboy through the strainer to strain out the hops, etc. It's easiest to do this where you're planning to let the beer ferment so you don't have to move an unwieldy carboy after it's full. Also, DON'T FORGET to take a cup of the wort to measure it's gravity so that you can calculate alcohol content later.

The yeast packet should be inflated (with yeast farts!). The next step is optional, but highly encouraged. I call it The Yeasting. Gather everyone who is around (friends, family, neighbors, etc.), pour a past homebrew, and toast the yeast as they embark on a delicious journey that will ultimately result in their sacrifice. Chanting, dancing, cheering, and motivational statements are all encouraged in honor of our tiny fungal friends. Pouring the yeast into the carboy is how The Yeasting begins.

Once all the yeast is in the carboy, put the airlock on top and give it a really good shaking/swirling. Yeast are remarkably like humans - they like oxygen and ~60-70°F.

Cover the carboy with a t-shirt or other cloth to limit the amount of light that gets in. Too much light may cause the beer to acquire an off flavor. An extra towel at the base is not a bad idea just in case it bubbles over.

Within 24 hours, the airlock should be bubbling wildly and a foamy raft will form. I like to let it sit for roughly week after it stops bubbling regularly to ensure that the yeast are absolutely done fermenting. If it's bottled too soon and the yeast are too active it can lead to exploding bottles, which it never fun.


To calculate the alcohol (and sugar) content of your beer you will need samples of it before and after it has fermented. Measure the gravity each sample with a hydrometer and then some simple arithmetic will give you the Alcohol By Volume (A.B.V.). The hydrometer is essentially just measuring the density of the liquid, and since sugar increases the density and ethanol decreases it, you an use it as a fairly accurate approximation of alcohol content.
For example...
Original (pre-fermentation) Gravity (OG) = 1.070
Fingal (post-fermentation) Gravity (FG) = 1.024
(OG - FG) x 131.25 = ABV
(1.070 - 1.024) x 131.25 = 6.0375% ABV
Recommended Reading:


