
Why a pear-off? Dr. Steve Lindow's lab studies the bacteria that naturally occur on plants. These epiphytic bacteria can either be good or bad for the plant and the pears for this years Pear Off came from an experiment in cooperation with UC Farm advisors. The experiment asked whether or not good bacteria and yeasts could outcompete the bad guys that cause Fire Blight disease and Russet on pears. Even if you're not a microbiologist you might already be aware of the good yeasts on fruits such as grapes or plums (it's that fine, white, powdery stuff on the surface). You can thank naturally occurring bacteria for the cute little freckles on pears. These bacteria produce the plant hormone, Auxin, which influences both the shape and coloration of the fruit. If these bacteria become too numerous on the surface of the pear, they can cause abnormal fruit development and a particular type of discoloration known as Russet.
At the end of each summer, local orchards send cases and cases of pears to the Lindow Lab for evaluation. Though the pears never enter the lab - Dr. Lindow camps out in the hallway and looks at each individual pear to evaluate its shape and coloration. Then the pears are free to be eaten. The Lindow Lab receives a lot of pears, so they started the annual pear-off competition to encourage their use and ensure that they don't just go to waste. This year I decided to make yeast raised donuts filled will pear.
Yeast raised donuts begin with yeast.

Sprinkle 4½ teaspoons of yeast over 1 cup warm water (~110°F) and let sit for a few minutes till it dissolves and becomes bubbly.

Add 1 cup of All Purpose Flour...

...stir it in until the mixture is smooth.

Then cover the bowl with plastic wrap and set it in a warm place to rise until bubbly (30-60min).

Meanwhile, make the rest of the dough. Beat 10 Tablespoons of butter in a mixer until creamy.

Slowly add 2/3 cup of sugar and continue to beat until light and fluffy.

Scrape down the bowl periodically.

Add 3 large eggs one at a time while mixing.

Scrape down the bowl one more time and beat until smooth and fluffy.

Add 2 teaspoons of vanilla and a big pinch of salt (~1 tsp).

The yeast and flour are ready when they look like this:

I wish I had a video of this because it was wildly bubbling! So alive!

Add the yeast mixture with 3½ along cups of flour to the butter mixture and mix it all together.

At first it will be goopy, but let it mix for several minutes so that the gluten develops. You'll know it's ready when it forms a ball and starts to clean the sides of the bowl.

Butter a large bowl and turn the dough out of the mixer bowl into the buttered bowl.
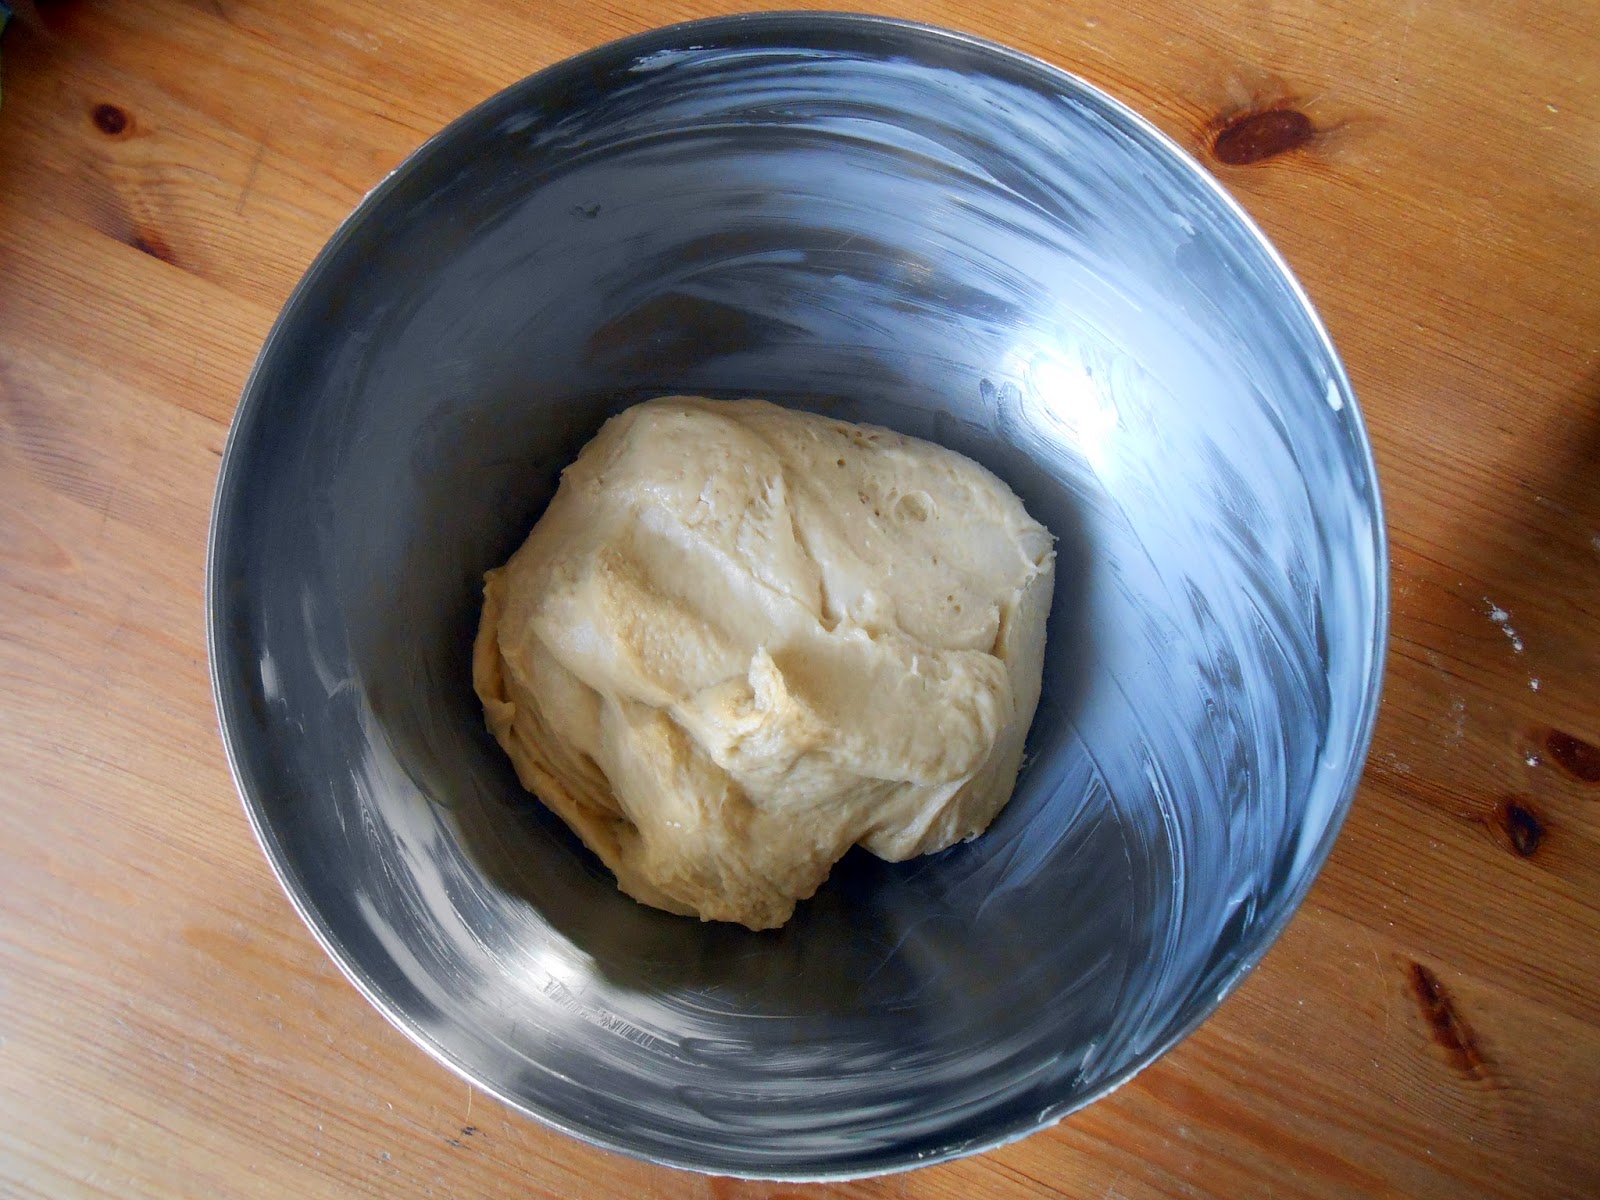
Again, cover with plastic and let it rise in a warm place for about 2 hours.

It'll rise a lot!

"punch" the dough down. I used my finger to press it down.

Then cover it in plastic wrap and plastic bag and let it sit in the fridge overnight.

The next morning, make the pear filling. I peeled and diced four pears, sprinkled them with cinnamon and then let them cook on the stove just long enough for some of the liquid to evaporate so that my doughnuts wouldn't get too soggy in the end. (side note: four pears resulted in too much pear filling, three probably would have been plenty)

Interestingly these pears didn't hold up as well as I was hoping and they instantly turned into more of a pear sauce. Oh well, the donuts must go on!

When you're ready to start rolling out donuts, remove the dough from the fridge.

Cut the dough in half and roll out one half at a time. Roll it out to 1/2 inch thick for regular donuts, or in this case, for filled donuts roll it out to 1/8-1/4 inch thick.

Use a cookie-cutter to cut out circles (or whatever shape you want).

Place a small dollop of filling on top of one circle, then top it with another circle and seal it shut. Make sure you seal these together really well because they will expand a lot and can easily pop open if there is any seam left between the two circle of dough. I smushed the edges together until I couldn't tell where one circle ended and the other circle began.

Let the donuts rise for about 30 minutes before frying. Though by the time you are assembling the last donut, the first donuts will likely be ready to fry.

This dough can be re-rolled, and it makes great donut "holes" too.

Heat up some neutral oil in heavy-bottomed pot for frying. I like grapeseed oil, but canola or safflower will work too. Fry on both sides until golden brown and let drain on a paper towel.

Allow the donuts to cool completely before glazing. They'll cool fastest on a wire rack.
For the glaze I used some of the juice that I strained off of the pear filling, plus a little bit of store-bought pear juice. I made up this glaze on the fly and ended up making WAY too much. I started by boiling 2 cups of pear juice for a few minutes and then adding 4 Tablespoons of butter.

Whisk to combine and let it cool. Then add powdered sugar until the desired consistency is achieved. I ended up adding 6 cups of powdered sugar before I has happy enough with the consistency and nearly out of powdered sugar! Also, it's important to sieve the sugar into the buttery juice to avoid clumps.

Dip each donut in the glaze and then let them drip dry on a rack. And of course - sprinkle with disco dust before they dry completely!

mmmm yeasty doughy goodness with a tasty morsel of pear!

See how they shimmer in the sunlight! Also a cupcake carrier is a great way to transport donuts across town.

photo credit: Elena Antonova
My cohort buddy, Jeff named my donuts as soon as he saw them and exclaimed "Disco Donuts!" And so it was. Also one of my co-workers who is Polish informed me that I didn't make donuts, I made Paczki - I had no idea!

photo credit: Elena Antonova
It seemed like most of the department showed up to taste a truly impressive spread of peary concoctions. There was Pear & Proscuitto Bruschetta, Chocolate Pear Tart, Pear Cupcakes, Pear Caramel Bake, Pear Butter with the most adorable little pancakes ever, Pear Chocolate Cake, Pear Heffeweizen Ice Cream, Pear Almond Ginger Galette, Pear Ice Cream with Pear Topping, Pear Pie, Pear Cobbler, Pear Upsidedown Cake, Pear Spanikopita, Pear Fritters, Pear Crisp, and Pear Caramel Candies.
Each person got three votes to vote for their top three favorite dishes. It was immediately clear that my lab-mate, Gabe, had won by a landslide with his Pear Ice Cream (it was a darn fine ice cream). But to determine second and third place the votes were tallied...

photo credit: Elena Antonova

photo credit: Elena Antonova
...and in the end I won second place! Woohoo! Thanks to the Lindow Lab and everyone who created and consumed some of the best pear things I've ever had.

photo credit: Elena Antonova
..............
Yeast Donuts
( from the Joy of Cooking)
1 cup Warm Water
4½ tsp Yeast
1 cup Flour
..
10 Tbsp Unsalted Butter
2/3 cup Sugar
3 Large Eggs
2 tsp Vanilla
1 tsp Salt
(optional lemon or orange zest)
..
3½ cups Flour
.............
Pear Filling
3-4 Pears
sprinkle Cinnamon
.............
Pear Filling
3-4 Pears
sprinkle Cinnamon
..............
Pear Donut Glaze
( reduced version of the ridiculous quantity described above)
½ cup Pear Juice
1 Tbsp Unsalted Butter
1½-2 cups Powdered Sugar


