Tuesday, February 18, 2014

Lamb Sausage and Cornmeal Dumplings

Here's something quick and easy...

Step 1 - Buy totally awesome Lamb Sausage, like Prather Ranch's Lamb Sausage.


Heat up a skillet with some bacon grease (or whatever fat you have lying around), and sear the sausages in it.


Chop up an onion and some garlic. Add that to the sausages and saute for a minute.


Chop up some kales. Add that to the pan.


Throw in some water, and put a lid on it. Let it simmer while you make dumplings.


...by the way, the greens pick up a lot of flavor from the sausage this way, making them extra delicious!


Step 2 - Make dumplings! Here is the recipe for what I did, it's the amalgamation of several internet recipes.

Cornmeal Dumplings
2/3 cup all-purpose flour
1/3 cup yellow cornmeal
1 1/2 teaspoons baking powder
1 tablespoon unsalted butter
1/2 cup whole milk
big pinch salt
dash cinnamon
dash black pepper


Use cold unsalted butter and cut it into all the dry things, then add the milk and mix until well combined. I bet this would be even better with buttermilk, but I didn't have any buttermilk on hand. Meanwhile, bring a pot with about 1 inch of salted stock (or broth) to a boil.


Scoop about 1 Tbsp of dough at a time into the boiling broth. I made quenelles, an ice cream scoop would also be perfect for this, or you might be able to simply use your hands. It's important to get each dough-ball as tightly packed as possible before dropping it into the boiling liquid. These dumplings are tender and delicate, which is wonderfully delicious, but it also makes the process of cooking a potential disaster. The tighter your dough-balls are, the less likely it is that your dumplings will fall apart as they cook.


Jiggle the pot to make sure the dumplings aren't sticking anywhere. If they seem stuck, very gently assess the situation with a spoon. Let them boil for a couple minutes, they should be puffed and soaked in broth when they're done (though the center is still like dough fresh out of the oven! If you're not sure, slice one open and try it - if it still looks/tastes like raw dough, put it back in the pot!)


Remove the dumplings from the liquid before they become completely soggy. Serve with sausage and greens!


Wednesday, February 12, 2014

Blue Cheese, Brussels Sprouts, Pecans, and Pasta

A few weeks ago I had the pleasure of attending a seminar by Dr. Rachel Dutton. You may have seen her name in the "recommended blogs" section of this blog. Or perhaps you read the article about her in the NYTimes, or heard about the chef-friendly microbiologist through the culinary grapevine. She's a "super postdoc", or a young research scientist with her own lab at Harvard that studies the microbial ecology of cheeses. Not only does she seamlessly connect my two passions - food and science (specifically microbiology), but I believe she is also precisely the link we need in science right now between basic research (i.e. cell biology) and field research (i.e. ecology).

(photo taken from the Dutton Lab)

On the rinds of cheeses across the globe, Dr. Dutton has found a delectable diversity of fungi and bacteria happily cohabiting. Importantly for science, all the microbes on cheese will also grow individually in the lab (because a wheel of cheese is really just a giant fancy agar plate). This means Dr. Dutton's lab can take apart the microbial community on cheese, and then try to build it back up again to learn how microbial communities are structured in nature. The other advantage of being able to manipulate cheese microbes in the lab is that it makes it much easier to study what exactly these microbes are doing on the cheese at multiple scales from tracking the path of single molecules to the behavior of species. I find this really exciting because cheese might be the answer to unlocking the mysteries of microbial community ecology that have previously been difficult to study in far more complex systems like soil or the gut.

Since I was so stoked about seeing Dr. Dutton's seminar, Alex got me some super stinky moldy cheese for my birthday last week. Unlike Dr. Dutton's cheese's, this is a fresher cheese that has been injected with Penicillium spp. (as in, Penicillin). This cheese is VERY moldy, and while I do study mold, I wasn't entirely prepared for the quantity of Penicillium in my birthday cheese.


I realized I wasn't just going to eat this cheese on it's own. I needed to make something with it. I needed to dilute its funkiness with other flavors. Though, a part of me cringes typing that last sentence. Shouldn't I embrace the gloriously complex flavors of this robust delicacy? Shouldn't I appreciate filamentous fungi alone for their culinary contribution? Perhaps I should, though it's going to be a long time before I become a bonafide mold snob.

Anyway, I was feeling inspired by the brussels sprouts I had just gotten at the farmers market and the pecans I received in the mail, fresh from my uncle's tree in Arkansas! Pasta with brussels sprouts, pecans, and blue cheese cream sauce seemed like the best way to eat some very blue blue cheese without eating it straight.

I make pasta the Italian way - pasta first, then water:


 I also throw in a few frozen cubes of my homemade chicken demi-glace:


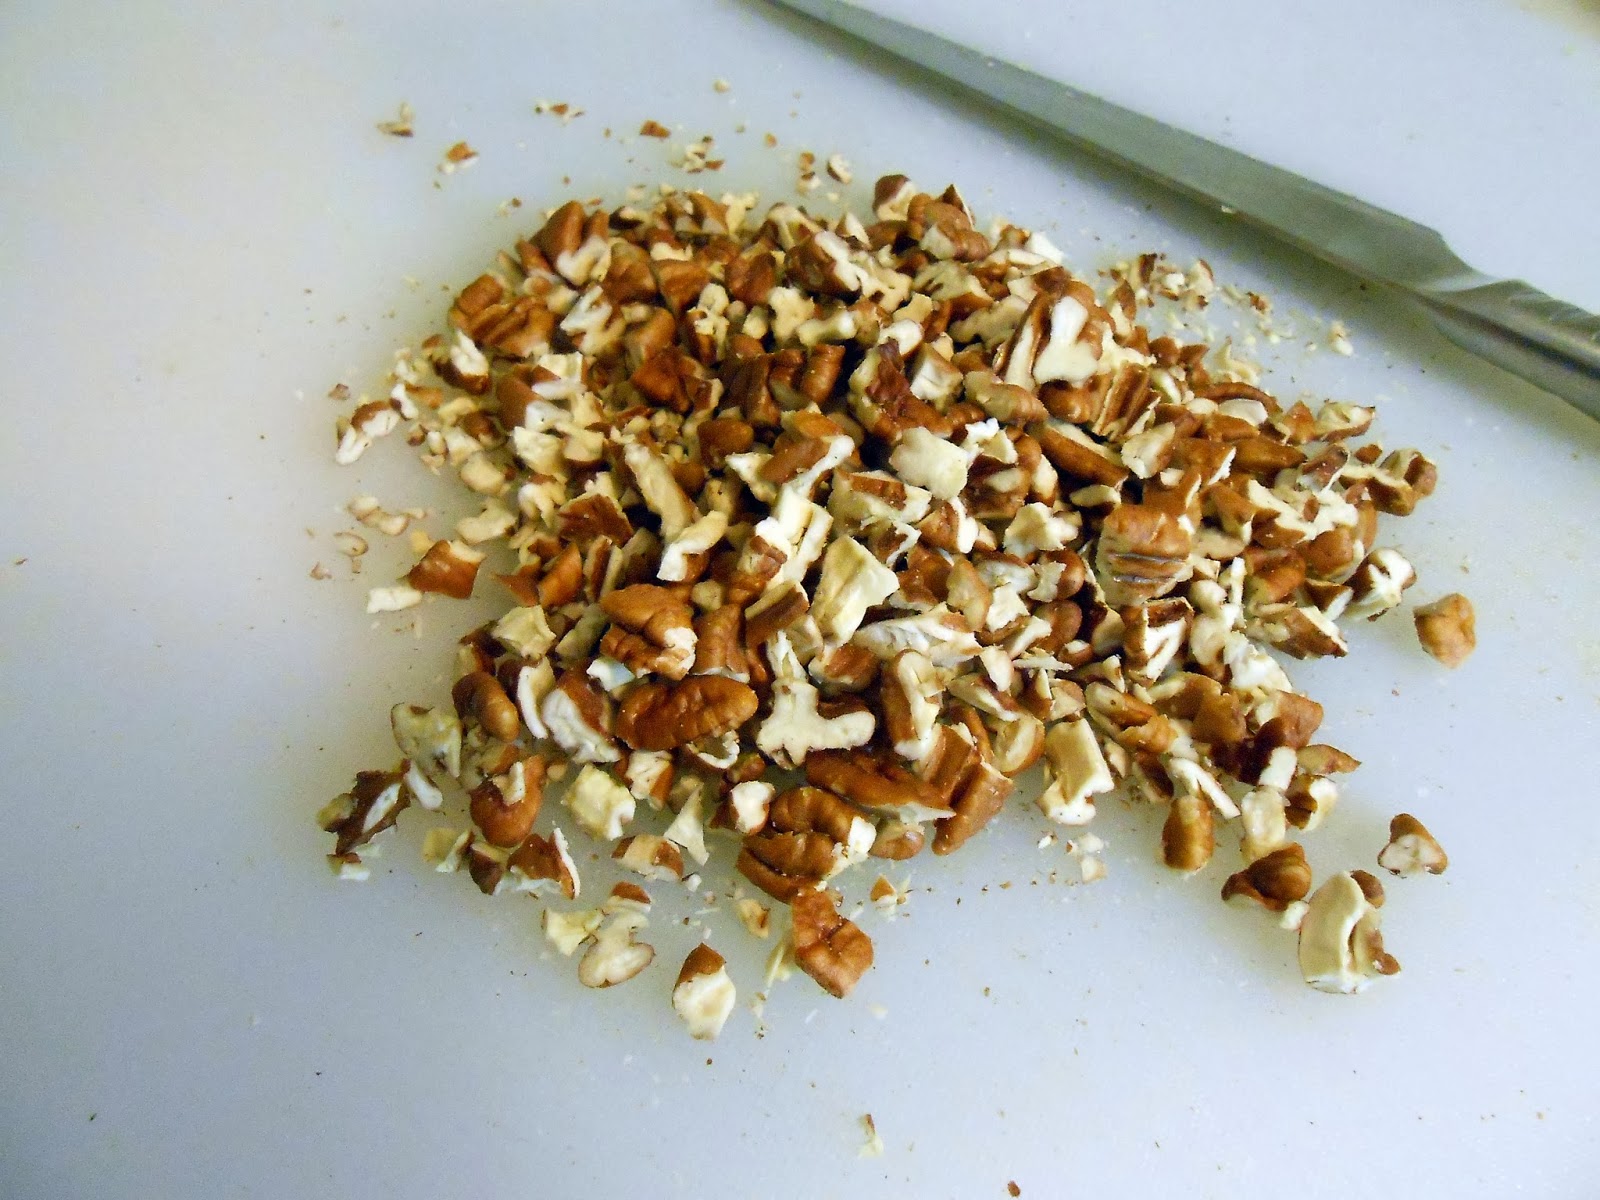
While the pasta cooked, I got my mise en place together: onions, brussels sprouts, carrots, garlic, blue cheese, and my uncle's pecans.


The pasta should be boiled in just enough water to cover it so that by the time it's done, it's starting to poke out of the water. Ideally you should strain the water over another pot, cook the pasta water down and use it to thicken the sauce, but I don't always do this.


Saute the onions, garlic, and carrots in butter.


add the brussels sprouts.


Sprinkle in some flour and let it cook for just a minute or two (this is the Singer Method of making a roux)


Add a decent amount of milk.


I always end up adding more milk as it cooks and thickens. The goal is pasta-sauce-consistency. Also, anytime you cook with milk (or cream), always add nutmeg. Nutmeg is the secret ingredient to all things dairy.


Just before you turn off the heat, add some blue cheese and stir it in till it melts.


Add the cooked pasta and mix it until everything is saucy and delicious.


This turned out to be simple and pretty darn good, though for anyone inspired to recreate this: add bacon, or possibly sausage. Bacon would have made this perfect. Just imagine powerful musky blue cheese and sweet, salty bacon waltzing across your tastebuds.

Tuesday, January 21, 2014

Honey Chocolate Peanut-butter Banana

Another Alex creation. This is a common late night snack for him, long after I've gone to bed. He graciously recreated this midnight ritual during the harsh light of day and he even aloud me to document the entire process. So here it is for your enjoyment and inspiration - Alex's late night goop of marvelous deliciousness!

Forage the wild kitchen for the elusive banana!


Prepare a bowl with several scoops of peanut butter.


...and get some chocolate chips and honey nearby.


Peel the banana while butter melts on the stove, then slice the banana into the butter and fry it.


Gently flip these delicate morsels with a spoon and continue to fry just until they begin to have the slightest amount of color on them.


Transfer the fried banana to the peanut butter bowl and immediately add chocolate chips and honey.


Notice how the chocolate chips melt into the hot fried banana. Mmmmmmm.


The next part is critical, and Alex assured me that any photo would surely be disgusting.


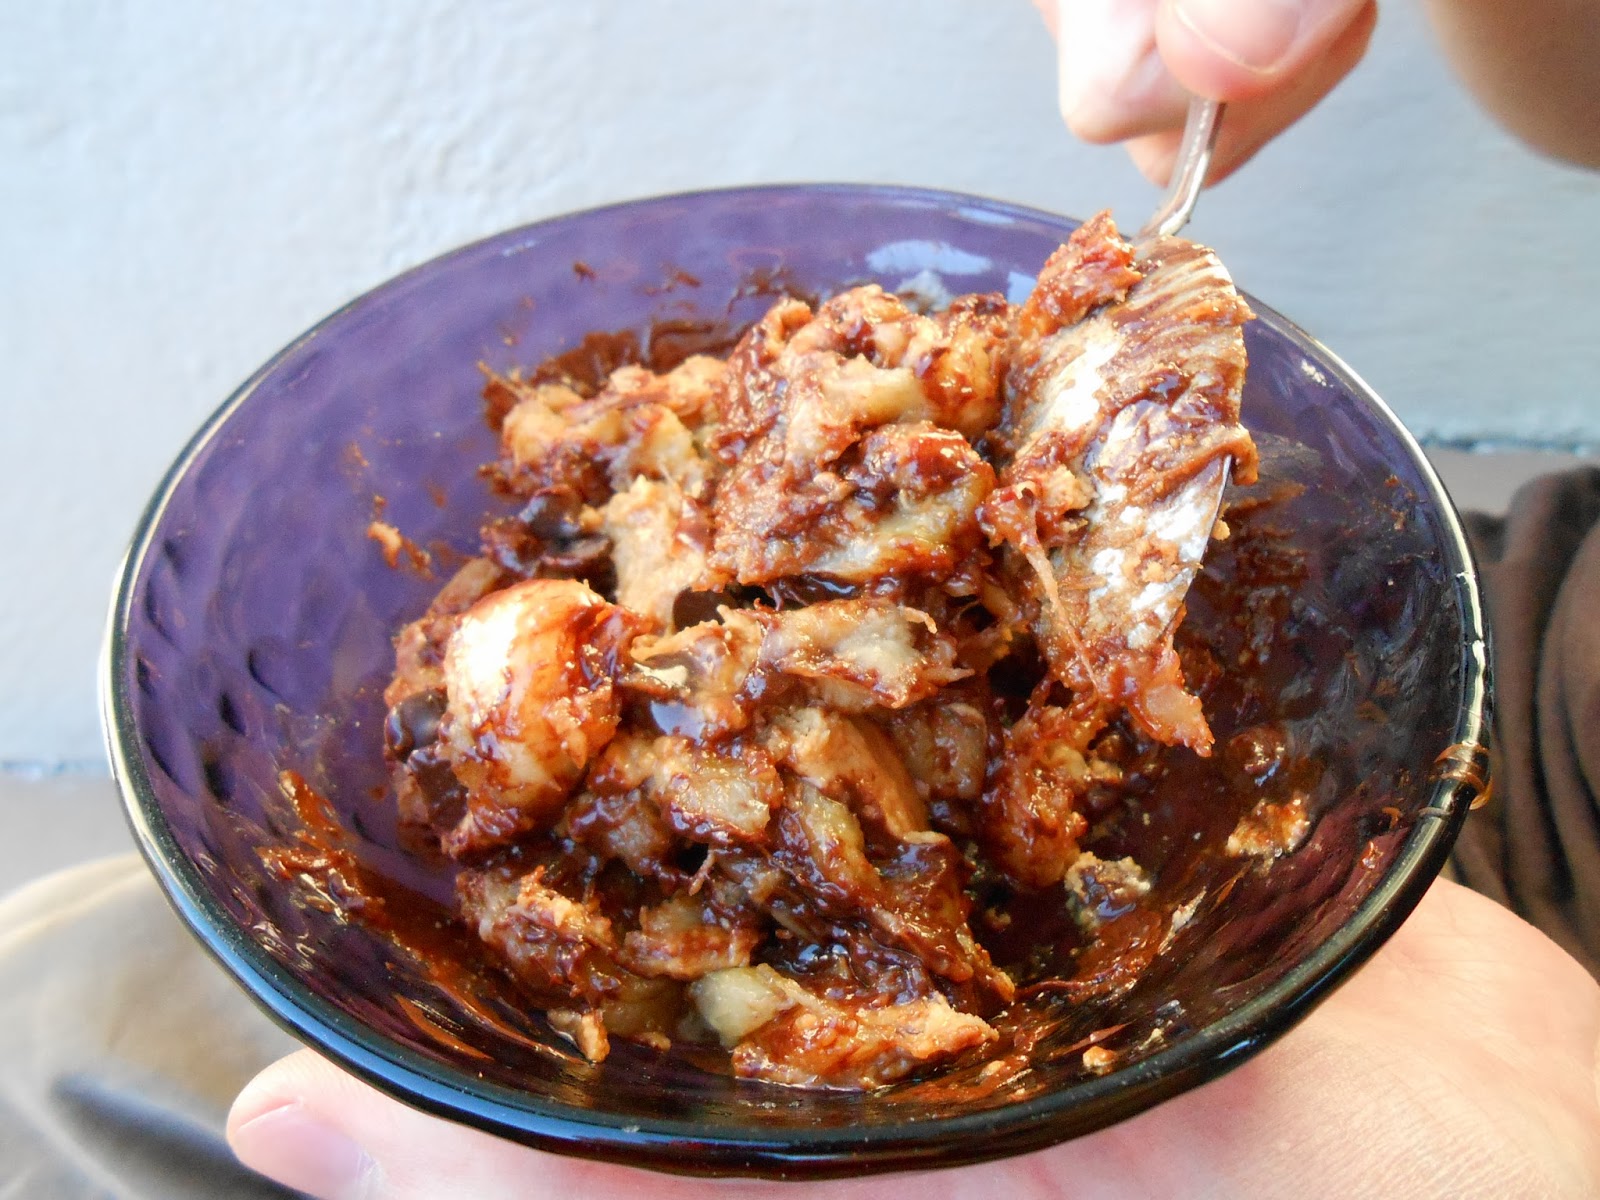
Once the chocolate chips are melted, mix everything together with a spoon, and enjoy.


I think it's actually rather beautiful. A complex landscape of peanut, chocolate, honey, and banana!

Monday, January 20, 2014

Honey Mustard Pork

For the record, here is Alex's honey mustard pork recipe. I believe this recipe is still evolving, but we wont know unless we have a record of it now, to compare to it later. Perhaps one day we will mine the data in this blog to construct a phylogenetic tree that explains the evolution of our recipes and eating habits. But in the mean time - pork!

We had a lonely pork chop in the freezer that Alex used for this, though he would have preferred a Boston Butt, or a similar cut of pork better used for slow cooking.

Brine the pork for 1 hour prior to cooking, though Alex is curious to explore alternatives/longer brining procedures.

Brine
2 Tbsp Salt
2 Tbsp Sugar
1/4 cup Apple Cider Vinegar
Water

Mix together the ingredients for the brine, plus enough water to cover the pork in a baking dish. Let sit in the fridge for an hour.

Take the pork out of the brine and sear it in hot bacon grease in a cast iron skillet. It should be thoroughly seared, a little charred even.

Dump the brine out of the baking dish, place the seared pork back in the dish.
Deglaze the cast iron skillet and caramelize some sliced onions and garlic in the skillet.
Top the pork with the onion/garlic/pan-juices.

In a small bowl or 2-cup measuring cup, prepare the sauce:

Sauce
2 Tbsp Honey
1/4-1/2 cup Coffee, fresh brewed
1/4-1/2 cup Apple Cider Vinegar
1 Tbsp Molasses
at least 1Tbsp+ of Mustard Powder... probably more
a healthy dash of Saigon Cinnamon
sizable pinch of Applewood Smoked Sea Salt
some Crushed Red Pepper Flakes
a healthy amount of Cumin, maybe 1-2 tsp
~1/2 cup Boiling Water

Vigorously stir together all the ingredients for the sauce, then pour it over the onions, garlic, and pork in the baking dish. Cover the dish with foil and bake at 250F for 2 hours.


Remove the pork from the sauce, blend the sauce, then reduce it on the stove until it has a good BBQ sauce like consistency. Alex also made cornbread and I whipped up a coleslaw to make a meal out of it.


The Joy of Cooking has a great cornbread recipe. I make coleslaw a little different every time. My goal is to make it as colorful as possible, here's the gist of it:

Coleslaw
Red Cabbage - very thinly sliced
Carrots - grated
Peppers of every possible color! - grated or thinly sliced
Cilantro - coarsely chopped
Green Onion - sliced
Red Onion - minced (maybe a Tbsp-ish)
Dolup of Mayonnaise
Big splash of Apple Cider Vinegar
Dash Cinnamon
Big dash Paprika
Huge pinch of Salt
...
Additional suggestions for coleslaw:
Kale - thinly sliced/chopped
Beets of any/all colors - grated
Lemon and/or Orange Zest
Apple - diced
Mustard
Herbs! - play with herbs!
Play with Spices too! (Fennel an Cumin come to mind first..)


Monday, December 16, 2013

It's a Cronut! It's a Doughssant! It's a Crodough Nutssant!

It's official. I've joined the Cronut craze. Dominique Ansel Bakery in New York City began the insanity with their highly publicized release of a limited supply of Cronuts back in May. They even went so far as to trademark the name to make sure that they were credited for the origin of this brilliant confection. 

So what is it?

It's croissant dough, cut into the shape of a doughnut, fried like a doughnut, and then frosted like a doughnut. Sometimes it might even get filled with cream or jam, like a doughnut.

For more information - here's an infographic about Cronuts.

Dominique Ansel and his crew invented the Cronut, but Auddino's Bakery in Ohio claims that they have been making croissant-doughnuts under the name Doughssants for 20 years. While the Cronut may be an exquisite example of a croissant-doughnut, I think it's important to note that this idea isn't new. Fried dough is an inherent part of human nature. It was a logical step once we had invented fire, pottery, oil, and dough (at least 7,000 years ago). Fried dough is a common thread connecting all cultures, regardless of class. Check out Wikipedia's list of fried doughs of the world!

So why all the Cronut hype? Why not! Who doesn't love a good fried dough? Though I'm not going to make the 3000 mile trip solely for a pastry. Nor am I going to pay $100 to have one shipped to me. I could also use this interactive map to find the nearest croissant-doughnut, but it's just so much more fun to try and make it myself.

I started with my favorite croissant dough recipe, which I managed to spread out over an entire week. (Saturday: make dough, Sunday: first fold, Tuesday: second fold, Thursday: third fold and cut out doughssants, Saturday: fry, Sunday: glaze) After the final fold, I rolled the dough out to 3/8 inch thick.


Then I used two ring cutters to make doughnut shapes.


I procrastinated and refrigerated these for two days, then I let them proof in my oven for 3-4 hours before frying. You can turn your oven into a proof box by filling a pan with boiling water. Don't turn the oven on! The steam and minor amount of heat from the water creates the perfect environment for rising dough.


 After 3-4 hours, they should look puffed:


Heat up a liberal amount of grapeseed oil in a sturdy pot. I usually turn it on high for a minute to get it going, then leave it on low while I'm frying.


The proofed doussants are incredibly delicate, I found a pie server to be the most effective way to transfer each doughssant from the oven to the frying oil. Then tongs work well to fish them out. Let them drain and cool on a rack.


I changed the oil in between doughssants and doughssant holes. In the end I used a full 2 liters of oil, which may have been a little excessive, but when it comes to frying, it's always better to have too much oil than not enough.


The doughssant holes have low structural integrity. A mesh spoon (or spider) helps to get all the bits out.


I let the holes drain for a minute, then I coated them with cinnamon and sugar.

Mmmm delicious crunchy cinnamon and sugar holes!

In the end, my croissant dough recipe made 24 doughssants and about 60 doughssant holes. The doughssants should probably be glazed as soon as their cool and eaten immediately. I let mine sit overnight before glazing.

Doughnut Glaze
2 cups Powdered Sugar
1/2 cup Milk
1 tsp Vanilla Extract
...
Combine all ingredients in a metal bowl.
Place the bowl over a pot of boiling water to make a double boiler.
Whisk until smooth.
Dip doughnuts.


Let each dipped doughssant drain and cool on a rack. Before the glaze fully hardens, I sprinkled the dipped doughssants with edible sparkles.


In the end, these were delicious, but a bit tough and incredibly greasy. One of my fellow grad students declared that these are American Baklava. Next time I make these I think I'll try to make them more doughy and less croissanty by using less butter (or more flour) in the dough. The holes were arguably a lot better than the doughssants - they came out crisp and crunchy!